When I was a kid, we had three electronics project kits that always sat on the shelf in my brother Sam's bedroom closet. I'm not sure where they came from (other than Radio Shack, originally) but they were one of those toys that I often got out to fiddle with. We had this one, which I used more when I was younger:
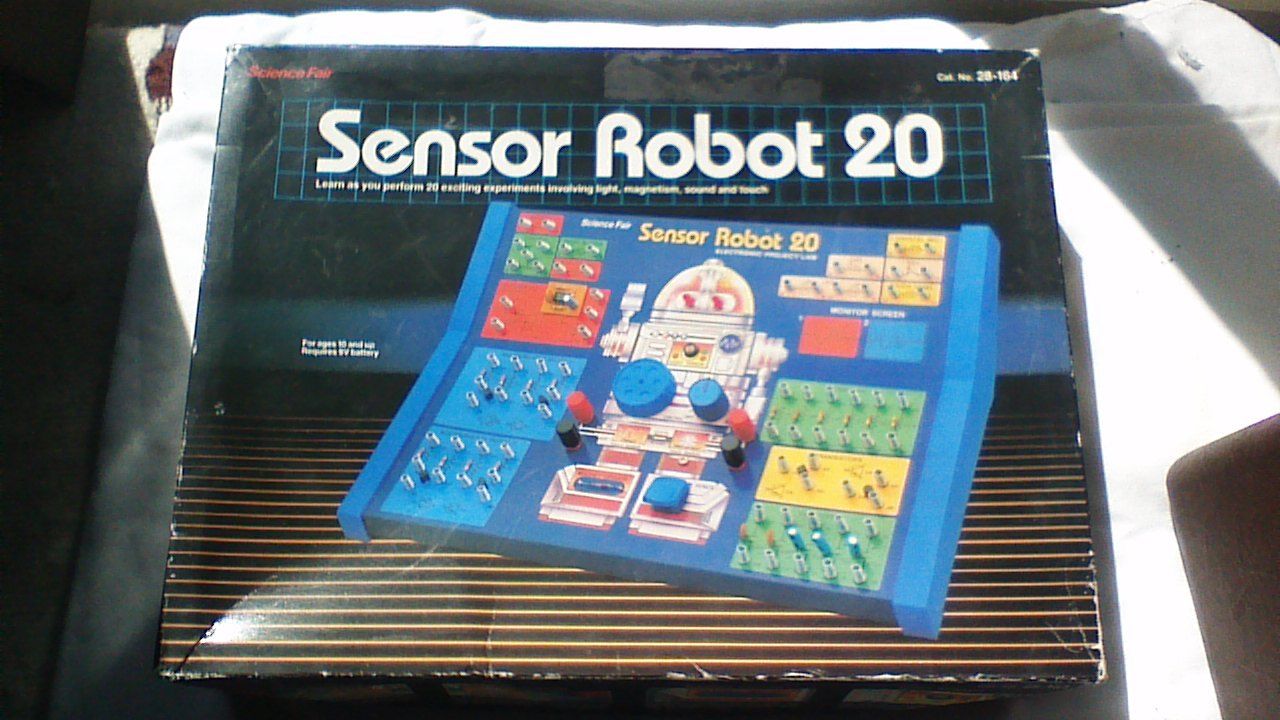
I stole this picture from the internet. Shhh...
And this one, which I remember using maybe around the time I was 10 or 12?
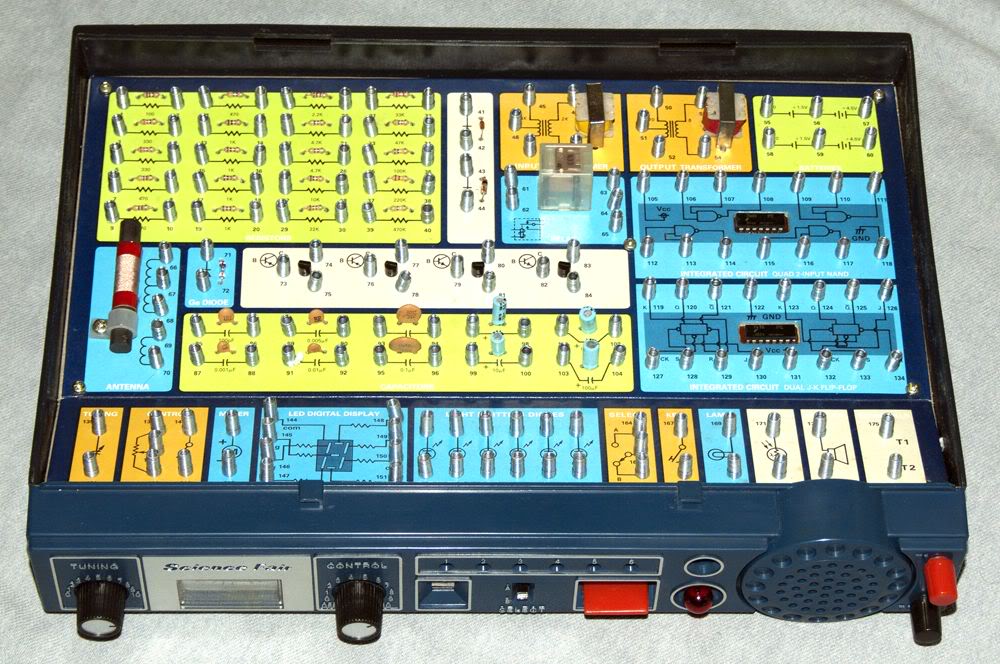
I stole this picture from the internet too (!)
Then there was this one, which for some reason I never really used. I think there weren't any wires in the box and I couldn't bring myself to use some OTHER kit's wires because what if they got all mixed up. Can't have that.

Guess where I stole this picture from? (hint: it was the internet)
Anyway, if you can't tell from the pictures, these were all kits that let you build circuits by connecting different components together. These components were mounted on the surface of the project kit and the leads were connected to the springs on the box. To connect two components together, you simply bend their respective springs to the side, insert the stripped end of a wire, and release the spring. It's a clever system that actually worked quite well.
These kits came with books showing both the schematic diagram for each project circuit as well as a visual representation that depicted the face of the project kit with lines drawn to connect the components correctly. You could build the project by following the numbers listed in the instructions - for example it would say "2-17" meaning you should connect a wire from terminal 2 to terminal 17, and so on for the rest of the circuit.
I always thought these project kits were pretty neat and I loved following the instructions to build a circuit and then (usually) see it function. I remember the 200-in-1 kit had a "wheel of fortune" project that, as far as I can recall, acted basically like a random number generator with the output going to the 7-segment LED panel - I spent hours carefully following the manual and hooking up wires to complete the circuit. I have no idea if it actually worked or not but I sure do have fond memories of the build process.
Despite all the warm fuzzies conjured up by my reminiscence, I never learned a ton about electronics from these things. I understood how a circuit worked (generally speaking), and I could tell you approximately what each component did, but I never picked up on how to take those pieces and build something of my own. I never understood how the systems actually functioned and as a result couldn't do much to modify the given circuits or come up with an independent design.
I was pretty much okay with that... UNTIL NOW.
Spurred on by a tutorial I found online, I've finally decided it's time to stop being so ignorant about how circuits work. I have a bigger project planned (the one in the aforementioned-but-unnamed tutorial), but for now I'm getting started by learning about Arduino basics. I also picked up a breadboard, some resistors, and a pack of LEDs and made this:

It's about as simple as you can get, but I was proud of having put it together. The circuit consists of a 9V battery, a few resistors to cut down the voltage, and then a green LED. This was partly to practice using a resistor calculator, partly to practice how breadboards work, and partly because the simple goal of getting an LED to illuminate was one that had confounded me as a child (looking back, I probably blew out an LED or two in those kits by shoving too much voltage through them).
Having completed this task, I got the Arduino into the mix and made this stoplight:

The green light comes on for three seconds, then it goes off and the yellow light comes on for one second, then it goes off and the red light is on for three seconds. I decided on the stoplight theme because Elias loves stoplights so much (he definitely thinks Mr. Rogers is cool for having one right in his house). It was easy to put together and the programming for it was also very simple, but it gave me a chance to build something myself without following a tutorial or other instructions. If I can figure out how to replicate the circuit's function inexpensively (e.g. with timer chips or something like that rather than a whole Arduino board) then I'd like to build a little toy stoplight with a switch for Elias and Amelia to play with for their toy cars. We'll see how that goes, I have a lot of projects happening (or wanting to happen) right now.
I hope to post more regularly¹ so hopefully I'll be able to keep you up to date with how these projects are going. I'm excited about them and I hope you are too! I've got the electronics thing, some music stuff, computer things are happening, my office is sort-of-rearranged... good stuff.
----------
¹said every blogger ever